DIY Faux Tree Flocking Tutorial

{While I am on Christmas vacation, please enjoy this 2011 post re-run}


This year, I was on a quest to find a better method for flocking my artificial tree.  I wanted durability, a thick texture and lots of sparkle.  All I could find on the internet were recipes from the 60's with glue and Ivory Soap Flakes.   Sounded way too messy.  


I came up with my own solution.  For this project I used a thrift store tree, a can of white paint and glitter.


I took the tree apart and applied a thick layer of paint on the top of  just the tips of the branches (where snow would naturally fall). 


 While the paint was wet,  I sprinkled it with glitter.  


I reassembled the tree as I went along.  It took about 24 hours to dry and it made a huge mess, I recommend doing this outside.


This is the second year using the flocked tree.


It held up great.  I have to admit, it made a mess when I assembled it.
It wasn't too bad though, definitely worth it.


Thanks for visiting.  
Merry Christmas. 


Terrarium In A Jar


During the winter months, I like to have fresh flowers and green plants around the house to remind us of the promise of Spring.

{While I'm away on Christmas vacation, please enjoy this 2011 post re-run}


This weekend, I made a trip to the greenhouse.


 I found a Rosemary "tree" half-off.  The scent is fabulous. 
It will be great for cooking too. 


I also fell in love with this sweet little plant, Baby Tears...awe. 
I had to buy it just for the name. 


I've been wanting to put together a few Terrariums.
Like this:


I went thrifting in search of glass cloches.
No luck, they were either not available or too expensive.


I went home a little disappointed and then it came to me.
 I had a few glass jars stashed away...


and the little plants fit in them perfectly.


With the exception of the plants, I was able to assemble my Terrariums using what I already had.  
Don't you just love it when that happens?


In Michigan, a little bit of green goes a long way.
Thanks for visiting.  

The Family Command Center Controversy


Today's post is a 2011 post re-run and also a lighthearted response to the controversy that erupted over our family command center chore list.. 


I never thought in a million years that this project would get so much attention.  It's stirred up a heated debate in several internet forums and my email inbox.  Evidently, my daughters chore list being longer than the boys list has rubbed a few the wrong way.  Some folks were offended that she was assigned dish duty and not the boys.  


Let me tell you, Hannah thoroughly appreciates the support from those who felt that she was being overloaded with chores because she is a girl.  

(Hannah and I)

I'd like to take this opportunity to set the record straight (even though the comments are entertaining and I love the blog traffic that has resulted from the debate).  Their chores were assigned to be age appropriate, not based on gender role stereotypes.  
Thank you, to everyone that weighed in.  I appreciate every comment, even the mean ones. 


Here is the original post:

Now that I am back to work, things are a lot different in our house. In an effort to stay somewhat organized, I have taken some unused space in our hallway and turned it into a command center.


Each child has a tote bag with their clothes for the day, lunch money and special notes from Mom. The chalk board reminds them of their daily responsibilities.


I added iron hooks to the existing shelf. ($3 each)


I printed the children's names from my computer onto iron on transfer paper to make the personalized totes. ($2 each tote)


The photos can be changed out with each season. I stuck green hydrangeas in these cute urns for a little pop of color.  The chalkboard was made out of MDF and chalk board paint. ($6 for the sheet of MDF and $8 for a can of chalk board paint)

Maybe our mornings will be a little less hectic. If not, at least my hall looks cuter.
Please click Here for information on my Affordable On-Line Design Consultation Service.
Thanks for visiting!

Budget Friendly Builder Bathroom Makeover


{While I am away on Christmas vacation, please enjoy this 2011 post re-run}


Recently, we gave our builder-grade powder room a budget friendly face lift.  
The room was pretty boring originally.  To give it an upgrade without spending a lot, I started with paint.  "Lobster Red" by American Signature @ Lowes and "Tailors Chalk" by Martha Stewart.


The paint color was Hubby's choice.
He doesn't ask for much so, when he requested red, he received.


 I sanded, primed and painted the vanity, taking it from medium oak wood grain to clean crisp white.  Hubby installed 1x4 baseboards and quarter round trim to "beef up" the moldings.


The formica counter top was replaced with "Absolute Black" Granite.  The basic builder faucet was upgraded to polished chrome. 


The towels are from the PotteryBarn Outlet.  
The other chrome fixtures were a housewarming gift from my parents when we purchased our home 7 years ago.  They set the tone for the new faucet and vanity hardware.


I took the frameless mirror and transformed it into a custom feature by attaching a thick frame directly onto the glass with liquid nails.  I have shared this link before, it is a great tutorial on this project, Janell Beals How to frame a Mirror.


Our tiny little powder room has a 20 foot vaulted ceiling.  To keep the room feeling intimate, my husband installed floating crown moulding at 9 feet to create a break in the wall color.  It's a simple solution if you have high ceilings and don't know where to stop and start the wall/ceiling paint colors.


It's also great for people like me who like to change the paint color often.  It eliminates the need for scaffolding.  


For accessories, I kept it pretty simple.  I placed a fresh Orchid in a white pot on the vanity and hung french plaques from Hobby Lobby from black ribbons.  


Here is a shot of the room before...


(I'm hoping the folks @ poison control don't see this.)


And After...


This little room makeover was featured in Romantic Homes Bedrooms and Baths Magazine.  
You can click here to see the article.


Thanks for visiting!
Please click HERE for information on my Affordable On-Line Design Consultation Service, I am now taking appointments for January, 2012!


The Recipe For The Perfect Bed


{While I'm away on Christmas vacation please enjoy this 2011 post re-run}.

A while ago, I wrote a post on the brewing debate between The Duvet Vs. The Coverlet.  In that post, my vote was 100% for the duvet.  Oprah gave us the right to change our minds, right?  After working on this project, I changed mine.  My vote is now for using both...

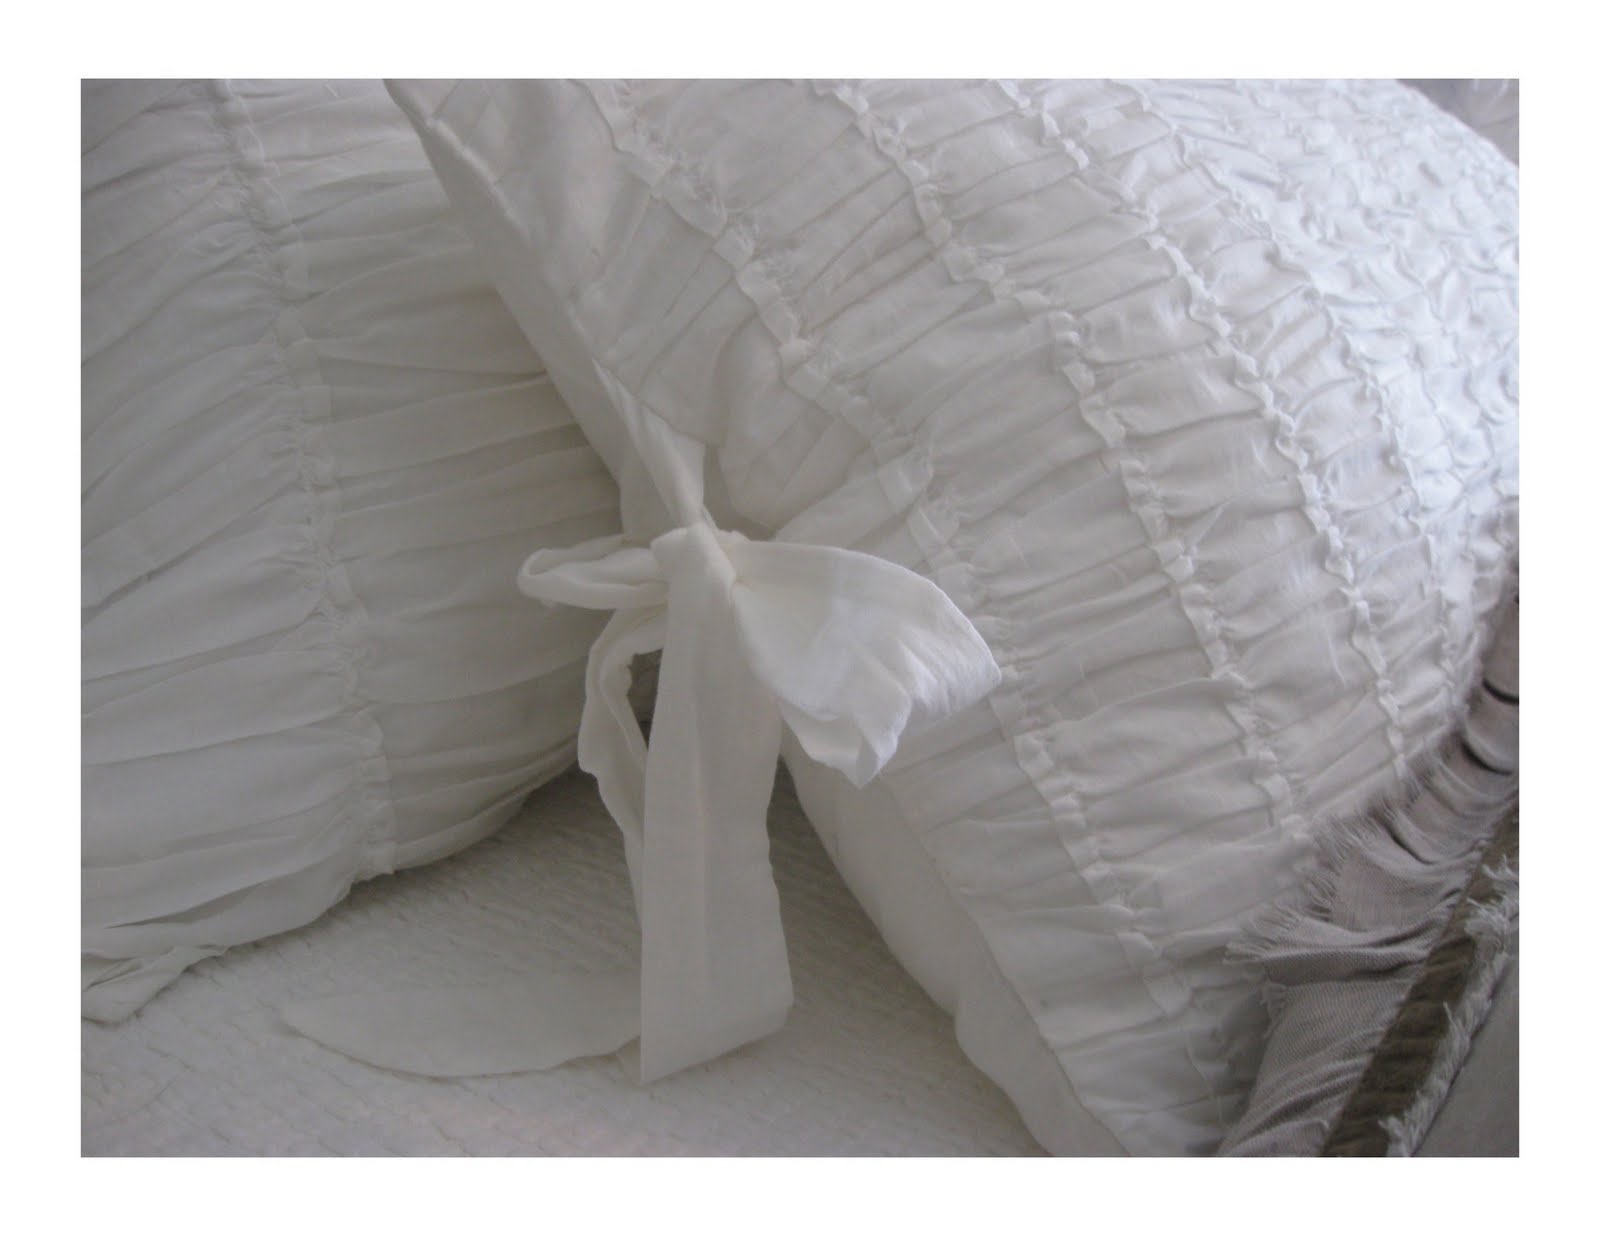
A special client fell in love with this gray and white bedding at a local boutique. There were two different sets.  One gray cotton/linen duvet set and a white cotton ruched coverlet set. When both bedding sets were combined with carefully chosen inserts this little piece of heaven came to Earth...


Here are the ingredients:

1.  100% Egyptian cotton sheets, 500 thread count.
 (The cool organic feel of these sheets is totally worth the investment. And the wrinkles).


2.  2 Base pillows for sleeping with firm feather-down blend inserts cased in the sheet set shams.  Feather-down blend inserts hold their karate chopped shape the best. They are also insanely comfortable.


3.  Three Large Euro shams filled with feather-down blend Euro pillow inserts.  Two in Gray (matching the duvet cover) and one in white with an adorable ruffled box edge.


4.  One white cotton ruched coverlet


5.  One gorgeous cotton/linen gray duvet cover.


6.  One king sized feather/down high loft maximum fill duvet insert.


7.  Two standard sized white ruched pillow shams with feather/down extra firm inserts and one gray decorative toss pillow.


8.  Two white decorative ruched toss pillows.


And there you have it...


Heaven.


On.


Earth.

For information on my affordable online design services, please click here.


Related Posts Plugin for WordPress, Blogger...
 
SITE DESIGN BY DESIGNER BLOGS