
Board and Batten wall treatments have become quite popular as of late. They are a fairly simple DIY project that can give a space a lot of cottage flavored character. I applied board and batten style wainscoting in my own home to warm up a large, otherwise cold master suite. Today, using my master bedroom as an example, I'm going to share an easy way to take your board and batten wall to the next level.

By adding a simple ledge/shelf, your board and batten will have a more custom look. Not to mention, a ledge provides an attractive way to display art/personal items and can improve the function of your room. It gave me the perfect spot to showcase a beautiful pair of vintage inspired prints that prior to the addition of the shelf, did not have a home.
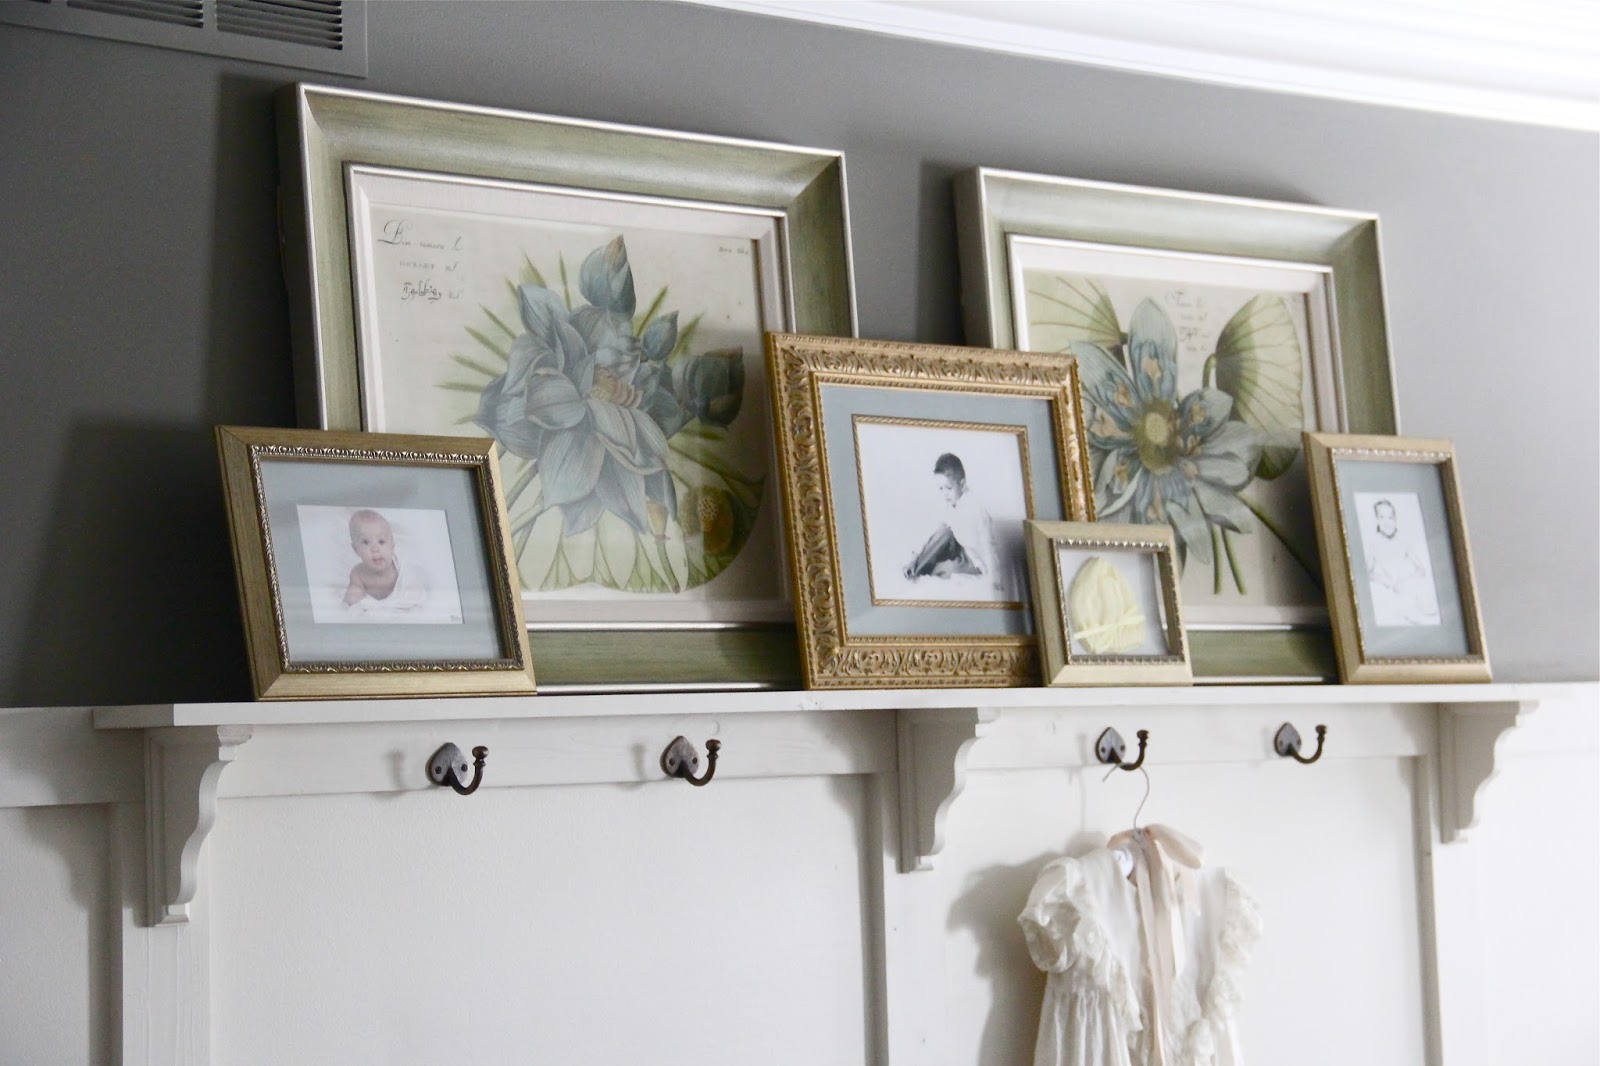
The height of typical board and batten wall treatments can be known to make hanging art tricky. Placing art over board and batten wainscoting, can sometimes feel too high. By incorporating a ledge, you can lean and layer art/photo frames making it feel more connected to your wall treatment and less like it's floating in space.

Adding hooks to the ledge not only dresses it up a bit and adds more interest, but it also provides a place to hang things. Each night before bed, I set my clothes out for the next day. Now instead of laying them on my chair, I have a place to hang them. I can also use the hooks to display things like our family Christening gown.

Adding a ledge to your existing board and batten wall is very simple…if you have your home improvement store make your cuts for you, the only tool you need to complete this job is a drill.
Here is a list of supplies for one ledge:
(1) 1"x4" Pine board painted in the same color as your board and batten trim
(3) Wood brackets painted in the same color as your board and batten trim
Construction adhesive
(4) Decorative hooks (Hobby Lobby)
Screws
Power drill
Art (Flower Prints Available Here)
Family Photos, Sentimental items, Thrift Store Frames
Art (Flower Prints Available Here)
Family Photos, Sentimental items, Thrift Store Frames

1. The first step is to find the longest stretch of wall in your space, this is usually the best location for your ledge.

2. Determine the placement of your new ledge easily by using your existing boards as a guide. I chose the three boards right in the middle of my wall.

3. Install pre-made wood brackets (Home Depot). Using the hardware included with the brackets, mount each bracket in the middle of three of your vertical boards. Be sure to mount them so the top of the bracket is an inch lower than the top of your board and batten. Place a 1x4 pine board on top of the brackets and secure with construction adhesive. By mounting the brackets an inch lower, your ledge will be nice and flush with the top of the horizontal board and batten board.

4. Using a power drill, install decorative hooks below the ledge, and finish your display with art, collectables, family photos etc.

I used an oversize pair of vintage inspired floral prints (found here) to anchor the display. Then, I added a few of my favorite family photos and sentimental items to compose a layered gallery. To make this art/photo arrangement easy on the eyes, had my family photos printed in sepia tones and painted simple white mats a soft grayish blue that compliments the lotus flower prints. To frame my photos, I used thrift store frames in golden tones to unify the collection. To keep my photos from slipping, I used poster putty under each frame. If you wanted more security, you could attach a lip to your ledge by gluing a thin piece of molding along the edge of your pine board.

A board and batten ledge could be incorporated either in a small section (as I did here in my master bedroom) or around the entire perimeter of the room. To see another example of a custom board and batten ledge in a room I designed recently for a client, please click here.
This project is a great example of how just a small element, like a board and batten ledge can add a lot to your room. This project took less than an hour to install, I did it all by myself and the total cost was less than $60.
Thanks for stopping by!
For information on my affordable online design service please click here.
© Copyright 2013 The Yellow Cape Cod


This is gorgeous and the art/fphotos/frames are beautiful.
ReplyDelete-Ash
www.stylizedwannabe.blogspot.com
This is terrific! It made such a big difference. I'm wondering what size your corbels are. I have some from Home Depot that I bought to place under my kitchen bar that look very similar, but I think mine are larger. Just trying to figure out the scale. :) Thanks!
ReplyDelete