

This year, I was on a quest to find a better method for flocking my artificial tree. I wanted durability, a thick texture and lots of sparkle.
All I could find on the internet were recipes from the 60's with glue and Ivory Soap Flakes. Sounded way too messy.

So, I came up with my own solution. For this project I used a thrift store tree, a can of white paint and glitter.

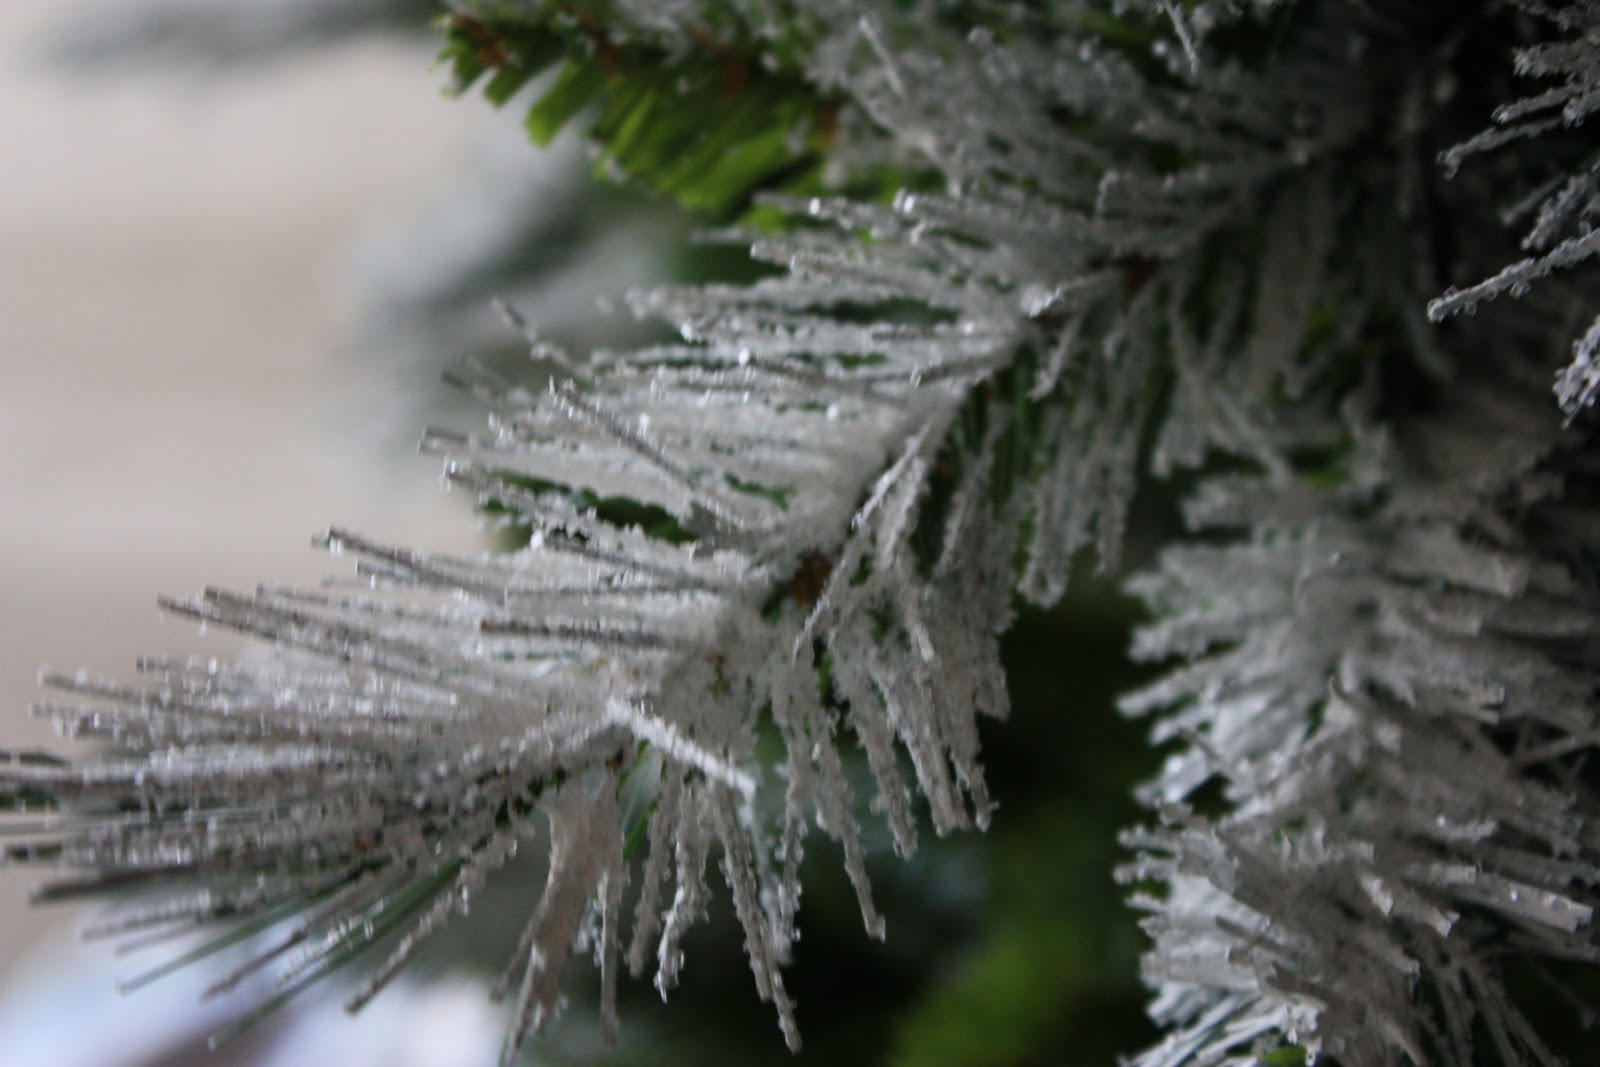
I took the tree apart and applied a thick layer of paint on the top of just the tips of the branches (where snow would naturally fall).

While the paint was wet, I sprinkled it with glitter.

I reassembled the tree as I went along. It took about 24 hours to dry and it made a huge mess, I would recommend doing this outside.


Durability, thick texture and lots of sparkle.


Linking up to:
Sassy Sites
Funky Junk Interiors
Remodelaholic
Sassy Sites
The Shabby Nest
A little lovely
The Inspired Room


Beautiful, wish I had the patience to do this!! May I ask where you got the shelf ladder that's in several of your RMS pics? I love the way you decorate it with the seasons and would like to get one for myself.
ReplyDeleteMarissa, I found the shelf ladder at JC Penney a few years ago. Thank you for following and for your sweet comments! Sarah
ReplyDeleteWhat a wonderful way to flock a tree and it looks wonderful!!!
ReplyDeleteGreat technique.
hugs
Sissie
I LOVE looking at your blog and how you decorate. Where do you find your snowflakes like the ones on the mantle? Thank you for sharing.
ReplyDeleteI love your idea but could you share a full picture of your tree.
ReplyDeletethanks
That looks great. I have a girl tree that I've been wanting to replace with a white one, but I've yet to do it. This would be a nice solution.
ReplyDeleteThe "flocking" is gorgeous! I love how you filled the tree with so many ornaments--it just looks inspiring & perfect, right out of a magazine!
ReplyDeleteHave a very Merry Christmas :)
Sindy
PS Love your daughter's room with the huge horse silhouette, too!
This turned out great. Your patience paid off!
ReplyDeleteGORGEOUS!!!!!
ReplyDeleteI wish I had the nerve to do this to my tree!!!
Love this!! I am so glad I found it... I have a couple of heavily flocked trees and some of the bulbs quit ...which means adding new light strand in and the strands look ridiculous not flocked~ they stand out like a sore thumb! Thanks for sharing this tutorial! Stopping by from Funky Junks- :)
ReplyDeleteWell and beautifully done, you clever woman. Kudos!
ReplyDeleteOh boy, that looks like it was a BIG and messy job! You are a brave woman... and patient too! I would have ripped the tree to shreds the way my patience goes! LOL! It looks great BTW! Very natural, I love it!
ReplyDeleteTania
Wow! That is REALLY gorgeous! I never would have thought to do that!
ReplyDeleteLooks so so pretty. Great idea :)
ReplyDeletexo
You tree is incredible! Love it!
ReplyDeleteYour tree turned out Beautifuly! Thanks for the instructions!
ReplyDeletei stumbled upon your blog today from a pinterest post. it is unbelievable. your stuff is so beautiful. i always have to have a project going on at my house for my days off and you just gave me enough for the rest of the year. amazing!
ReplyDeleteLove it. I tried the "easy way" with the spray snow. Every single bit of it had rubbed off when I put the lights on it. Next year I will be doing this for sure. Wish I hadn't already put my lights on or I would do it now.
ReplyDeleteHow has it held up and does the glitter come off very much?
Also, your snowflakes from dollar tree... are they hard or made from a type of foam? I looked but I didn't know which ones you used.
Thanks!